
Hi Everyone
This is always an exciting time of the year (not only because its Spring in Australia, my favourite season) but its also the time that the new Stampin Up Annual Catalogues and this year the new format in Seasonal catalogues have launched and with that comes a lot of busy events of launch workshops.
Whenever I hold one or several of these events I usually invite firstly those wonderful hostesses and good customers who have supported me over the journey of my Stampin Up experience and so they are treated as though they are all hostesses on the day. So in saying that I also make up a little 3D thank you gift. This season I decided to do some paper fans.
The initial idea came from Stampin Up's Pamela Morgan - she demonstrated a version without the embellishments that was able to fold back again at our South Pacific Canberra SU convention 2012.
. She used the great new Bigz die for the Big shot- it makes the process so much quicker and easier than mine because not only do you get the pretty border edge but also the score lines so everything is very precise. - Designer Rosette Bigz XL- 125594

By Pamela Morgan
I was impressed but in making them decided to make mine more permanently open and embellish the centres. The gift was well received and also practical.
Here are mine adding that centre embellishment. I've made about 24 of these so far :-)
Here is a sample-

Now as a treat to my readers I have put together a PDF tutorial on how I made my version. It is free to use however all that I ask is that if you do use it and upload the result that you give credit to the original creators (my inspiration as mentioned - Pam Morgan) and provide link to this source.
DSP Paper Fan
Tutorial by Ruth Clarke
The concept of this paper fan idea was
first seen by myself as a presentation by USA Stampin Up Presenter Pam Morgan
at our South Pacific Stampin Up convention in Canberra 2012.

She used -
·
Designer Rosette Bigz XL- 125594
(which provides score lines as well)
·
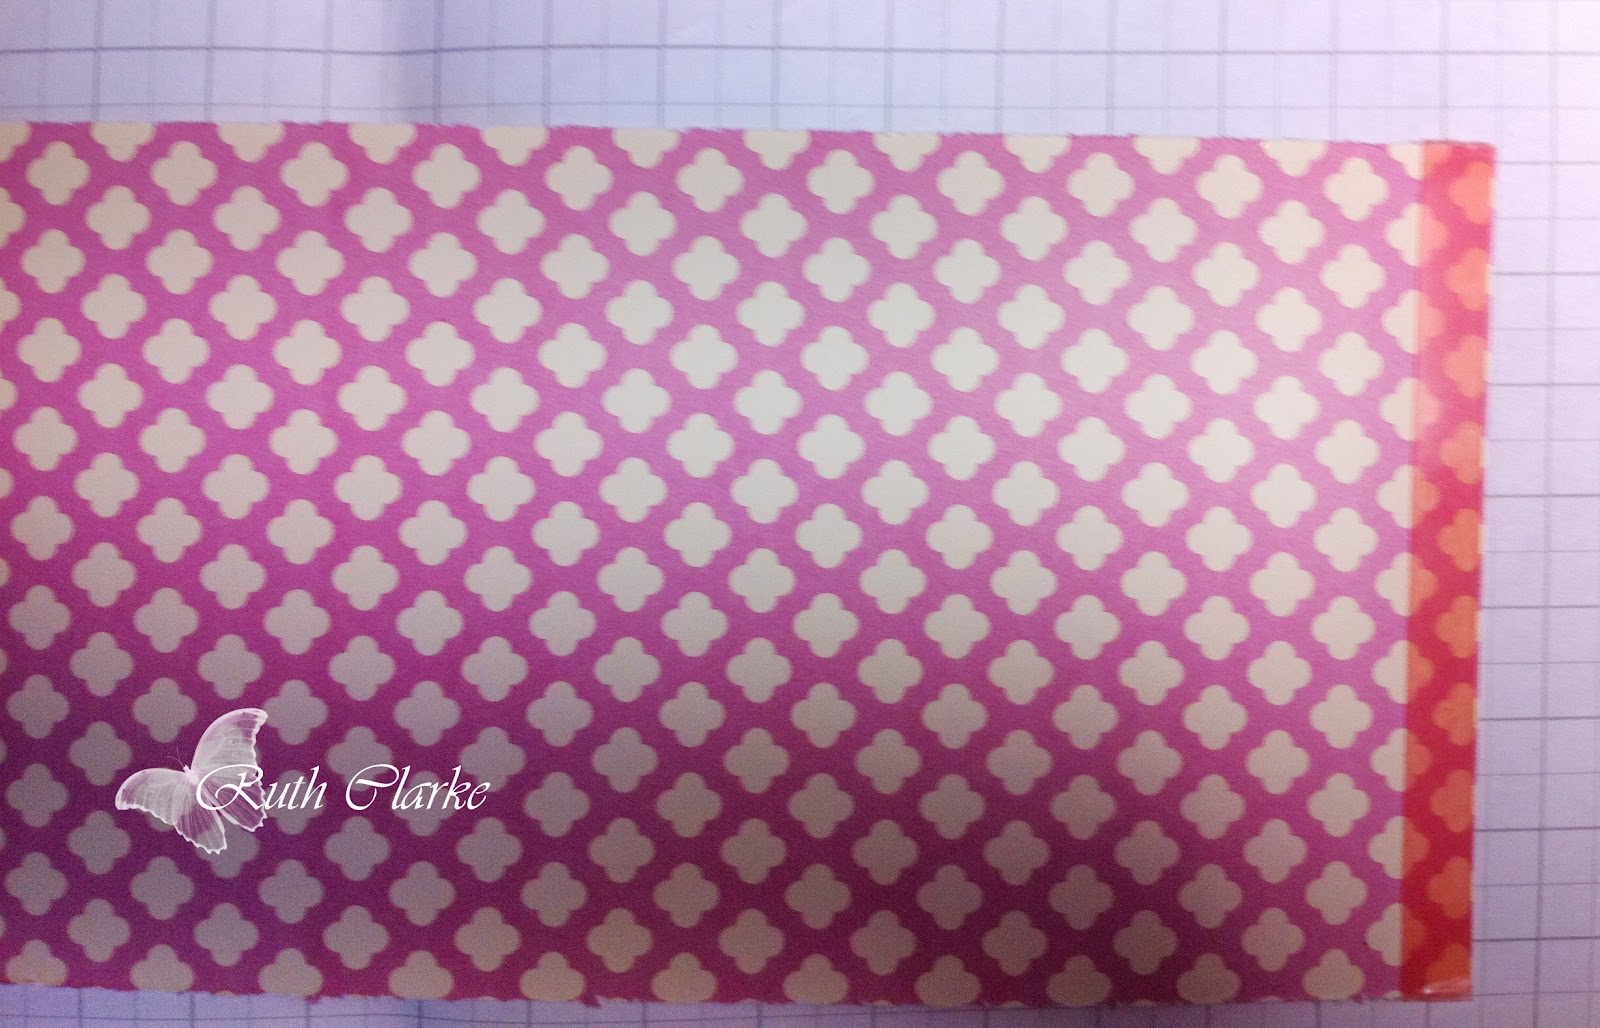
2 Strips of DSP cut at 3” x 12” in
size
·
2 Paddle pop wooden sticks
You’ll also need
·
Hot glue gun and glue sticks
·
Red sticky-strip
·
Scoreboard and Scorer tool
·
Paper Trimmer
·
scissors
For my version as per Tutorial Photos below- You’ll need all above
but substitute the Bigz Rosette die for the Scallop Border punch, You punch the
boarder after you have cut your 2 strips @ 3” x 12” in size.

to add Embellishment centre you’ll need-
·
2 3/8” Scallop circle punch-118874
·
1 ¾” circle punch
·
Stamps sets – Kindness Matters- 122902;
Delicate Doilies- 122592
·
Scrap lengths of cream ribbon, Crochet
Trim- 118481; Seam
Binding for bows
·
Embosslit – Beautiful Wings- 118138
·
Pearls for Butterfly
·
Glue Dots (optional)
Here’s how I made my take on the project-

1.
Cut 2 strips of Paper (DSP) – 3” x 12”
in size
2.
Join these two strips slightly
overlapping the join using sticky strip to adhere them together

3.
Using the Scallop Border Punch, punch
out a scalloped edge along the length of 24”.

4.
After the entire edge is scallop
punched edge the using your score tool score regularly at the intervals between
the scallops. See photo below

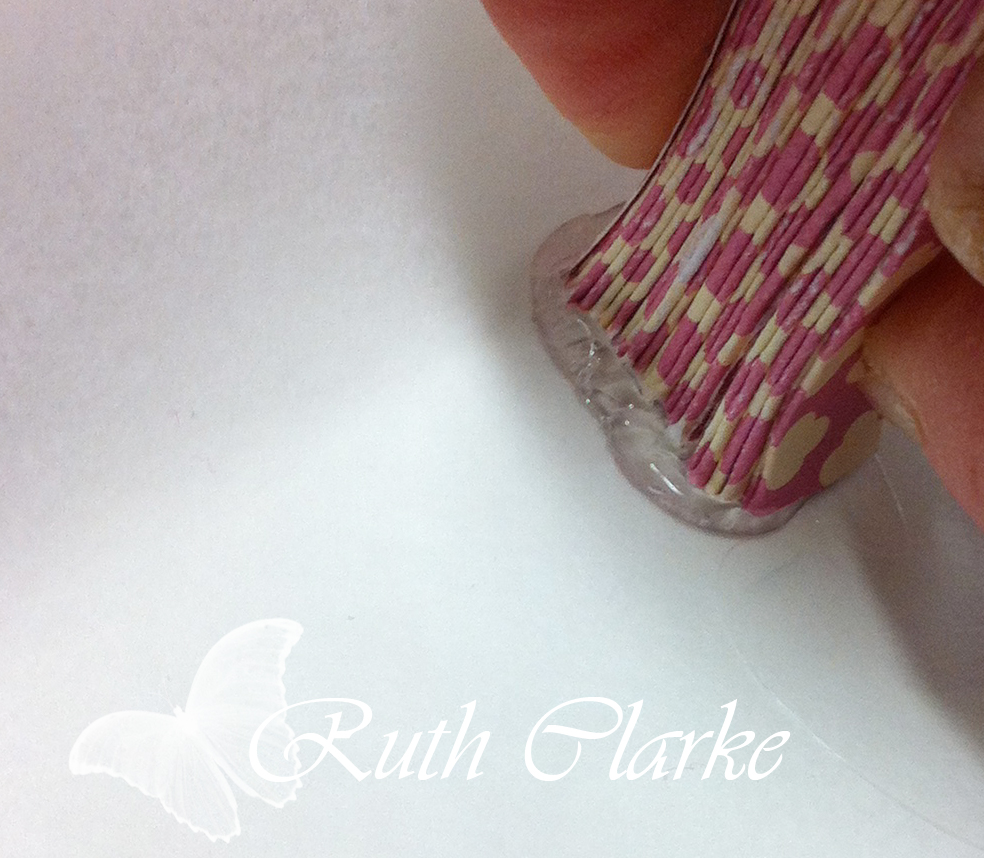
Until it looks all scored like this in photo below

5.
Gather up the pleated paper together
and hold unscalloped end together tightly, you can assist this with a rubber
band around your work and using the hot glue gun , cap the end with some glue
to seal the end and hold the end of the fan together- see photos below

And then press the wet glued end down on a silicone mat or a piece
of baking paper to give a smooth end, trim off excess glue on sides with the
scissors. Sometimes it’s necessary to repeat this step once more to completely
cover the entire end.

6.
Apply some hot glue along both outer
sides to adhere your paddle pop sticks to the sides, these will be your handle,
make sure the start of the paddle pop stick starts at the glued centre and
sticks out on the scalloped end of your fan.

When the glue is dry, put some
more glue along the paddle pop sticks and hold them together. Now at this point you can still fold your fan close- if that is your wish and you don't want to add the centre embellishments then tie a bow around the handle and your done otherwise continue.

As I just said you can skip this next steps if you want to be able to fold the fan up, but if you want it like my
example then you will glue the paddle pop sticks together permanently.
Punch out a scalloped circle and still using the hot glue adhere it to the centre of your fan, add your lace and ribbons. Next add your stamped image that has been punched out with a 1 ¾” circle punch and adhere it to the centre of your fan.


8.
Finally add the seam binding ribbon
bow and little embosslit butterfly with pearls to complete the look and wella
here is your finished project below.

Now your turn to have a try, I made several of these as recent
Hostess Gifts for one of my Catalogue Launch events.
Enjoy - Ruthy
Your little fans are so cute Ruth! Love the colours and adore the embellishments you added to them - just divine! Thanks for such a comprehensive tutorial too.
ReplyDeleteThanks Kerry for your encouraging words and taking the time to say thanks :-) - Ruthy
ReplyDeleteBeautiful! So glad I stop by your blog today. I just got this die, what a precious little gift. Lovely, thanks for sharing the tutorial! Blessings!
ReplyDeleteJessica
rememberj.blogspot.com